


# Vent Stack Sizing and Wet Vent Configuration Rules for C-36 Exam Success
Mastering vent stack sizing california requirements is absolutely critical for passing the C-36 plumbing exam. The California Plumbing Code (CPC) contains specific rules governing drainage and venting systems that test takers must understand thoroughly. Whether you're dealing with traditional vent stacks or innovative wet vent configurations, knowing how to calculate proper sizes and apply code requirements will determine your success on Part 4 of the exam.This comprehensive guide breaks down the essential rules, calculations, and code references you need to ace questions about venting systems.
Understanding Vent Stack Basics
What is a Vent Stack?
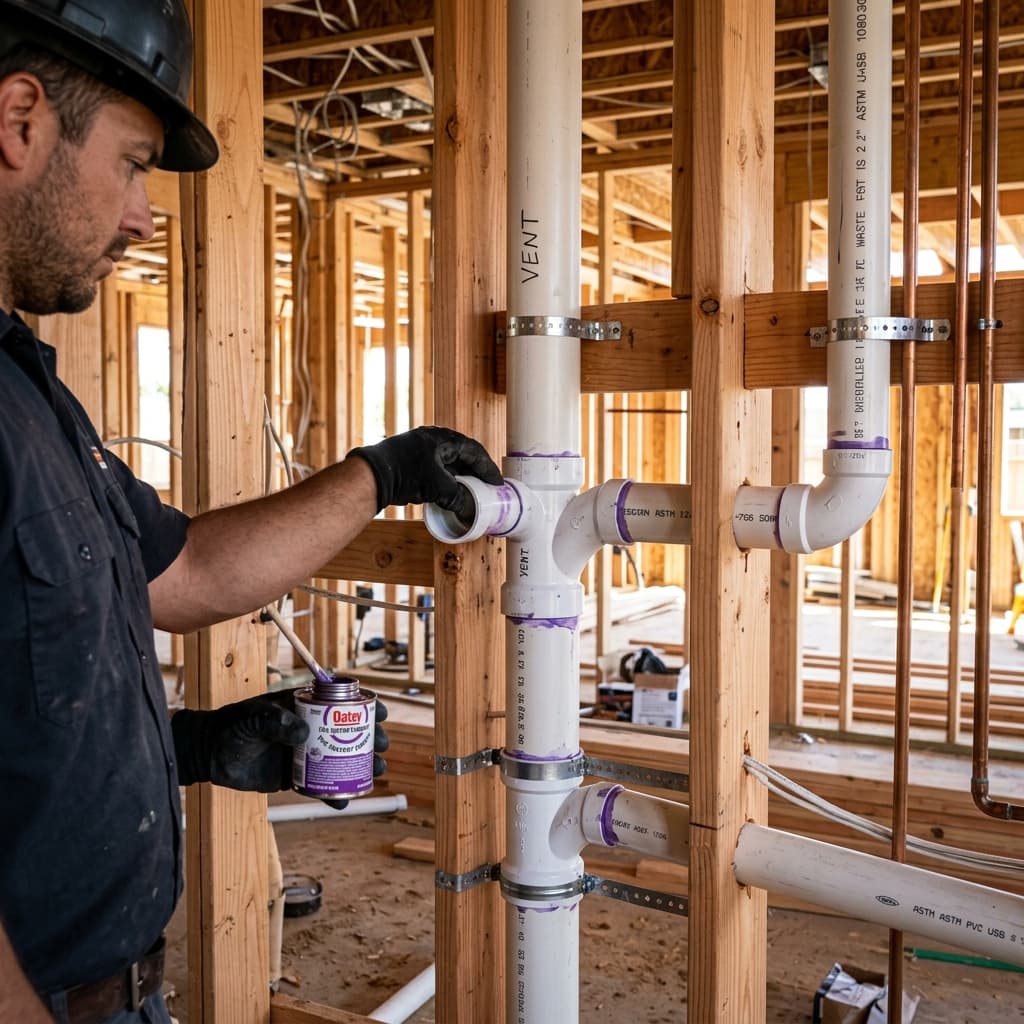
A vent stack is a vertical pipe that permits air circulation within the drainage system and allows sewer gases to escape safely to atmosphere. Unlike drain pipes that carry wastewater, vent stacks carry air and gases upward through the roof.
The primary functions of vent stacks include:
- Maintaining trap seals by allowing air circulation
- Preventing siphonage that removes water from traps
- Relieving backpressure during drainage
- Allowing sewer gases to escape safely outdoors
- Facilitating oxygen entry for bacteria decomposition
Vent Stack vs. Soil Stack
Many exam candidates confuse vent stacks with soil stacks. Here's the key distinction:
- Soil Stack (Waste Stack): Carries wastewater and solids downward
- Vent Stack: Carries air and gases upward (typically no liquid flow)
CPC Section 308: Vent Stack Sizing Requirements
Sizing Based on Fixture Units
Per CPC Section 308.1, vent stack diameter depends primarily on:- Total fixture units connected to the stack
- Developed length from the lowest branch to the highest point
- Grade and pitch of connected drainage lines
- 1-10 fixture units with 40 feet developed length = 1.25" vent stack minimum
- 11-20 fixture units with 40 feet developed length = 1.5" vent stack minimum
- 21-40 fixture units with 40 feet developed length = 2" vent stack minimum
Minimum Vent Stack Diameters
The CPC establishes minimum vent diameters to prevent air restriction:
- 1¼ inches: Minimum for residential applications (with limitations)
- 1½ inches: Common minimum for typical installations
- 2 inches: Required for heavy-duty commercial applications
- 3 inches and larger: High-rise buildings and extensive systems
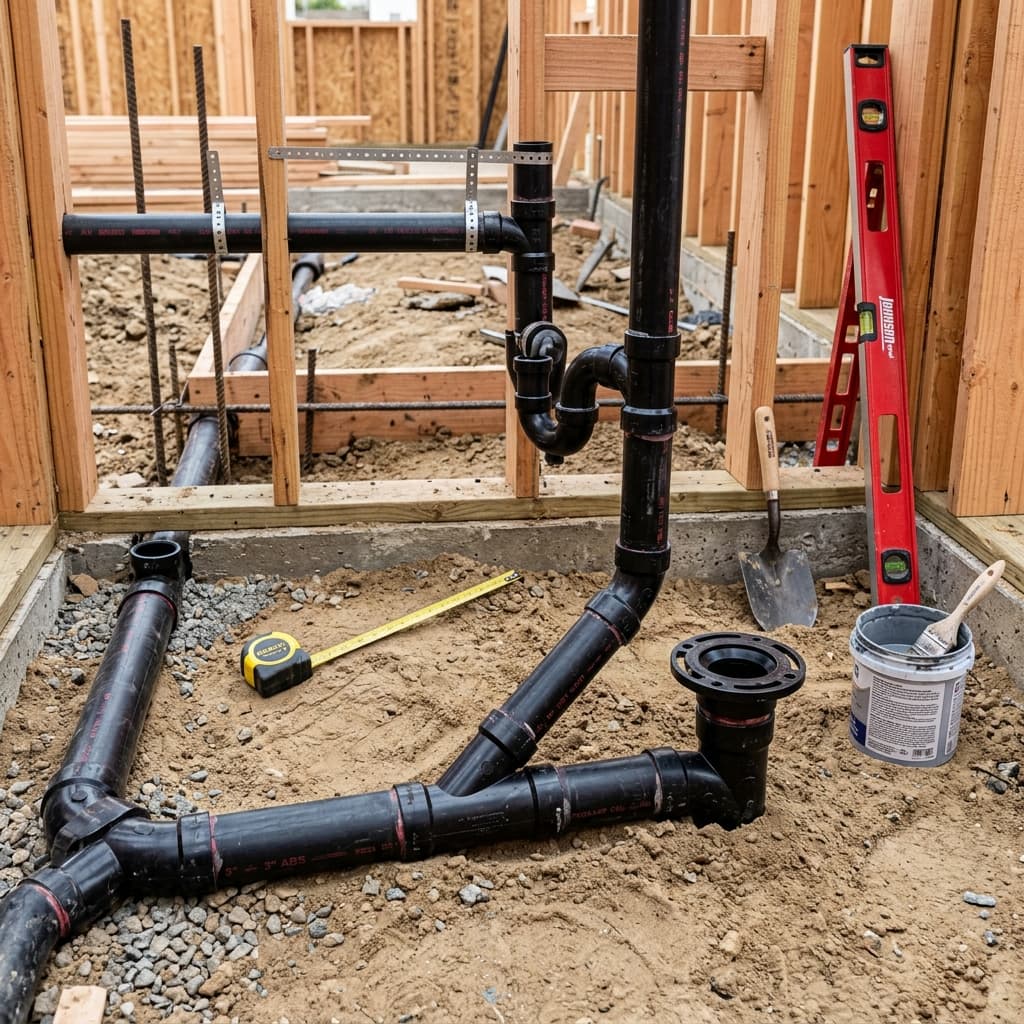
Wet Vent Requirements and Configuration
What is a Wet Vent?
A wet vent is a single pipe that serves as both a drain and a vent simultaneously. Rather than maintaining completely separate drain and vent pipes, wet vents combine functions under specific conditions. Advantages of wet venting:- Reduces material and labor costs
- Simplifies installation in space-constrained areas
- Maintains code compliance when properly configured
- Common in residential bathroom design
CPC Wet Vent Rules (CPC Section 307.2)
The California Plumbing Code permits wet venting under strict conditions:
Basic Requirements:- Maximum of three fixtures on a single wet vent
- Maximum horizontal distance of 42 inches from fixture outlet to vent stack
- Minimum ¾-inch diameter for wet vent pipe
- Proper slope between 1/4" and 1/2" per foot
- Lavatory to toilet wet vent: Permitted if lavatory drains into toilet
- Shower/tub to toilet wet vent: Generally NOT permitted without conditions
- Multiple bathroom fixtures: Must follow specific sequencing rules
Wet Vent Configuration Example
Consider a typical bathroom scenario:
Toilet (primary fixture)
  ↓
Drain pipe (minimum 3")
  ↓
Bathroom sink drains into
toilet drain upstream (wet vent section)
  ↓
Combined drain continues to
main stack with full vent
- Only one secondary fixture (sink) connects to primary fixture (toilet)
- Distance from sink outlet to vent intake is less than 42 inches
- The toilet drain (primary) is sized for its own load
- Proper pitch is maintained throughout
Common Wet Vent Mistakes
Test takers frequently miss wet vent questions due to these errors:
- Exceeding fixture limits: Trying to wet vent four fixtures on one pipe
- Excessive developed length: Forgetting the 42-inch maximum horizontal distance
- Improper sizing: Using undersized piping for the combined load
- Incorrect sequencing: Assuming any fixture order works (it doesn't)
- Ignoring trap seals: Forgetting that improper slope breaks traps
Developed Length Calculations
What is Developed Length?
Developed length is the total linear distance of pipe from the lowest branch inlet to the highest point of the vent stack (measured along the pipe centerline).This differs from actual vertical height because pipe rarely runs straight up—it may travel horizontally, around obstacles, and at angles.
Calculating Developed Length
Formula:Developed Length = Horizontal distance + Vertical distance
(measured along pipe routing)
- Horizontal run to main stack: 35 feet
- Vertical rise to roof: 25 feet
- Additional horizontal routing around obstruction: 8 feet
- Total Developed Length: 68 feet
Why Developed Length Matters
Longer vent stacks experience greater friction losses. Air must travel further to reach atmosphere, creating resistance. The CPC requires larger diameter pipes for longer runs to overcome this friction.
Exam Insight: Candidates often confuse vertical height with developed length. A building might be 40 feet tall, but if the vent stack takes a 50-foot path around obstacles, the developed length is 50 feet for sizing purposes.Stack Vent vs. Vent Stack Clarification
The terminology can confuse exam takers. Understand these distinctions:
Stack Vent (CPC Section 302.1)
- Extension of drain or soil stack above highest fixture connection
- Maintains pressure balance in the stack
- Typically sized same as the stack it serves
- Must extend through roof with proper termination
Vent Stack (CPC Section 308.1)
- Independent vertical pipe for venting purposes only
- Sized based on fixture units and developed length
- May serve multiple fixtures' vent requirements
- Also terminates above roof
Branch Vent Sizing Considerations
While this guide focuses on vent stacks, understanding branch vent sizing supports comprehensive drainage and venting systems knowledge. Per CPC Section 307.1:- Branch vents connect individual fixtures to main vent stacks
- Sizing depends on fixture units served by that branch
- Minimum diameters typically range from ¾" to 1½"
- Maximum developed lengths specified for each diameter
High-Rise Building Considerations
Tall buildings present special vent stack sizing challenges:
Circuit Vent and Loop Vent Systems
For buildings exceeding standard vent stack heights, the CPC permits:
- Circuit vents: Vent multiple fixtures with a single vent serving the loop
- Loop vents: Similar configuration with specific pressure relief provisions
- Vent stacks with relief vents: Secondary vents relieving pressure at intervals
Stack Offsets
When vent stacks bend from vertical (called offsets), special rules apply:
- Offset angle must be 45 degrees or less from vertical
- Cleanouts required at offset locations
- Pitch toward drain side maintained (no pockets that trap water)
- Sizing may increase due to friction losses through bends
Practical Calculations for Exam Success
Step-by-Step Sizing Process
Step 1: Identify all fixtures connected to the vent stack- Count toilet = 4 units
- Count sink = 1 unit
- Count shower = 2 units
- Total: 7 fixture units
- Measure pipe path from lowest branch to roof termination
- Include all horizontal and vertical segments
- Use actual routing, not theoretical straight line
- Locate the fixture unit total (7 units)
- Find the developed length category (assume 40 feet)
- Read required diameter (likely 1.5 inches)
- Check for high-rise exceptions
- Verify wet vent compliance if applicable
- Confirm branch vent connections are properly sized
- Confirm selected size meets minimum requirements
- Check local amendments or variations
- Document reasoning for exam answers
Common Exam Questions and Answers
Sample Question 1: Wet Vent Maximum Distance
Q: What is the maximum horizontal distance from a bathroom sink outlet to a vent stack when using a wet vent configuration?A: 42 inches (per CPC Section 307.2). This is frequently tested because candidates misremember as 36 inches or confuse it with slope requirements.
Sample Question 2: Vent Stack Sizing
Q: A vent stack serves 25 fixture units with a 50-foot developed length. Assuming no special conditions, what minimum vent diameter is required?A: Minimum 2 inches (consult CPC table—fixture units and developed length both push toward larger size).
Sample Question 3: Wet Vent Fixtures
Q: Which fixture configuration is permitted as a wet vent?A: Bathroom lavatory wet venting into a toilet drain. NOT permitted: shower directly venting into drain without intermediate fixtures; four or more fixtures on single wet vent.
Key Code Sections to Memorize
For comprehensive C-36 plumbing code venting success, commit these sections to memory:- CPC Section 302: General requirements for drainage and venting
- CPC Section 307: Branch vents and wet vents
- CPC Section 308: Vent stacks and sizing requirements
- CPC Section 309: Vent stack termination and clearance
- CPC Table 308.1: Vent stack sizing based on fixture units and length
Conclusion
Mastering vent stack sizing california and wet vent requirements demands focused study on both code requirements and practical calculations. The C-36 exam tests not just memorization, but your ability to apply sizing tables correctly, calculate developed lengths accurately, and understand why specific rules exist.Success requires:
- Understanding the purpose of each system component
- Memorizing key CPC sections and table values
- Practicing sizing calculations repeatedly
- Recognizing common trick questions
- Applying special rules for residential vs. commercial applications
Your thorough understanding of these systems will not only help you pass the C-36 exam but also become a more competent, code-compliant plumbing professional.